


百川大模型是百川智能推出的超千亿参数的大语言模型产品,具有良好的生成与创作能力、流畅的多轮对话能力以及部署门槛较低等多种优势。目前很多平台都支持部署该模型,为方便大家了解,本文就以Baichuan-2模型为例,为大家介绍在亚马逊云科技上利用Amazon SageMaker+S3部署百川大模型教程,仅供参考。
本文涉及到的亚马逊免费云服务:
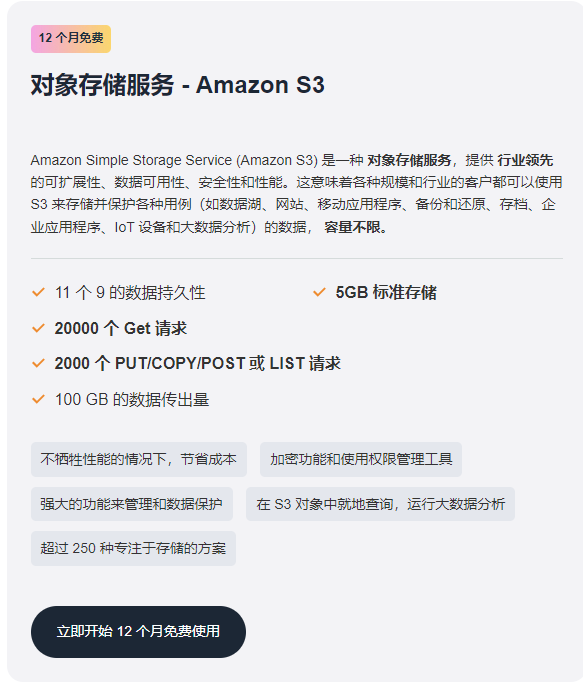
1、Amazon S3
Amazon S3是一种对象存储服务,提供行业领先的可扩展性、数据可用性、安全性和性能。目前亚马逊官网提供的免费套餐为5GB标准存储、20000个Get请求、2000个PUT/COPY/POST或LIST请求、100 GB的数据传出量,免费试用12个月。
2、Amazon SageMaker
AWS SageMaker是一种面向所有数据科学家和开发人员的机器学习服务,目前官网提供免费试用服务,免费试用时长为2个月。

新用户注册亚马逊云科技账户,即可在控制台中试用以上免费套餐产品。
免费获取地址:点击进入
相关推荐:《如何注册亚马逊AWS账号》
一、Amazon SageMaker+S3部署Baichuan-2环境设置
Baichuan-2是百川智能推出的新一代开源大语言模型,采用2.6万亿Tokens的高质量语料训练,新系列发布包含有7B、13B的Base和Chat版本,不仅继承了上一代良好的生成与创作能力,流畅的多轮对话能力以及部署门槛较低等众多特性,而且在数学、代码、安全、逻辑推理、语义理解等能力有显著提升。
1、升级Python SDK。
pip install -U sagemaker
2、获取运行时资源,包括区域、角色、账号、Amazon S3桶等。
import boto3
import sagemaker
from sagemaker import get_execution_rolesess = sagemaker.Session()
role = get_execution_role()
sagemaker_default_bucket = sess.default_bucket()account = sess.boto_session.client("sts").get_caller_identity()["Account"]
region = sess.boto_session.region_name
二、部署Baichuan-2模型
1、安装依赖包
pip install huggingface_hub
2、下载Baichuan-2模型,为便于后续的复现性和持续迭代,下载原始模型时应指定commit-id,不同的commit-id对应不同的模型处理和参数。
from huggingface_hub import snapshot_download
from pathlib import Pathlocal_cache_path = Path("./model")
local_cache_path.mkdir(exist_ok=True)model_name = "baichuan-inc/Baichuan2-7B-Chat"
# Only download pytorch checkpoint files
allow_patterns = ["*.json", "*.pt", "*.bin", "*.model", "*.py", "*.txt"]# Version is from 2023-09-18
model_download_path = snapshot_download(
repo_id=model_name,
cache_dir=local_cache_path,
allow_patterns=allow_patterns,
revision='229e4eb1fab7f6aef90a2344c07085b680487597'
)
3、拷贝模型和数据到AWS S3。
模型部署:
模型的微调使用全参数模型,以实现微调后模型的稳定性。
模型的微调使用开源框架DeepSpeed进行加速。
准备serving.properties:
引擎选择DeepSpeed。
张量并行度选择1。模型GPU显卡内存占用与其尺寸成正比,以常见的半精度模型为例,计算公式:显存占用量(单位/GB)~=2*每10亿参数;如果是Baichuan2-7B模型,大致的GPU显存需求=7*2=14GB。以Nvidia A10为例,单卡的显存为24GB,模型可以部署在单张显卡内,因此并行度选择1。
指定模型存储的Amazon S3桶。
准备requirements.txt
requirements.txt主要用于指定依赖包:
对于Baichuan 2-7B-Chat,需要选用transformers==4.29.2版本以实现更好的兼容性和稳定性。
加入xformers和peft依赖包用于模型的加速和PEFT推理等。
准备model.py
a.模型加载:一些需要注意的细节
模型加载时,需加入”trust_remote_code=True”
百川大模型Baichuan 2的增加了额外配置文件,包括特定的token,等需使用”GenerationConfig.from_pretrained(model_location)”读取:
a.模型推理:Baichuan 2-Chat推理过程中会引入“角色”,推理的提示词必须引入”role”:“user”、”role”:“assistant”格式来指定是用户询问还是模型的作答.
指定推理镜像
#Note that: you can modify the image url according to your specific region.
inference_image_uri = "763104351884.dkr.ecr.us-west-2.amazonaws.com/djl-inference:0.23.0-deepspeed0.9.5-cu118"
创建模型
from sagemaker.utils import name_from_base
model_name = name_from_base(f"baichuan2-7b-chat-origin")
print(model_name)role = sagemaker.get_execution_role()
create_model_response = sm_client.create_model(
ModelName=model_name,
ExecutionRoleArn=role,
PrimaryContainer={
"Image": inference_image_uri,
"ModelDataUrl": s3_code_artifact,
},
)
model_arn = create_model_response["ModelArn"]
创建终端配置
endpoint_config_name = f"{model_name}-config"
endpoint_name = f"{model_name}-endpoint"endpoint_config_response = sm_client.create_endpoint_config(
EndpointConfigName=endpoint_config_name,
ProductionVariants=[
{
"VariantName": "variant1",
"ModelName": model_name,
"InstanceType": "ml.g5.2xlarge",
"InitialInstanceCount": 1,
"ContainerStartupHealthCheckTimeoutInSeconds": 15*60,
},
],
)
创建终端节点
endpoint_name = f"{model_name}-endpoint"
create_endpoint_response = sm_client.create_endpoint(
EndpointName=f"{endpoint_name}",
EndpointConfigName=endpoint_config_name
)
部署测试
"top_k": 5,
"top_p": 0.85,
"repetition_penalty": 1.05
}prompt = "解释一下“学而时习之”"
response_model = smr_client.invoke_endpoint(
EndpointName=endpoint_name,
Body=json.dumps(
{
"inputs" : prompt,
"parameters": parameters
}
),
ContentType="application/json",
)response_model['Body'].read().decode('utf8')
至此已经完成Amazon SageMaker+S3部署百川大模型的全部流程,有需要的朋友可以了解一下。